
Customize your fit
ZipFits don't pack out, but they do pack around. The cork is compression resistant and will flow like a liquid from areas of high-to-low pressure. If you feel your fit changing, this is because cork has moved into areas you didn't know you needed it.
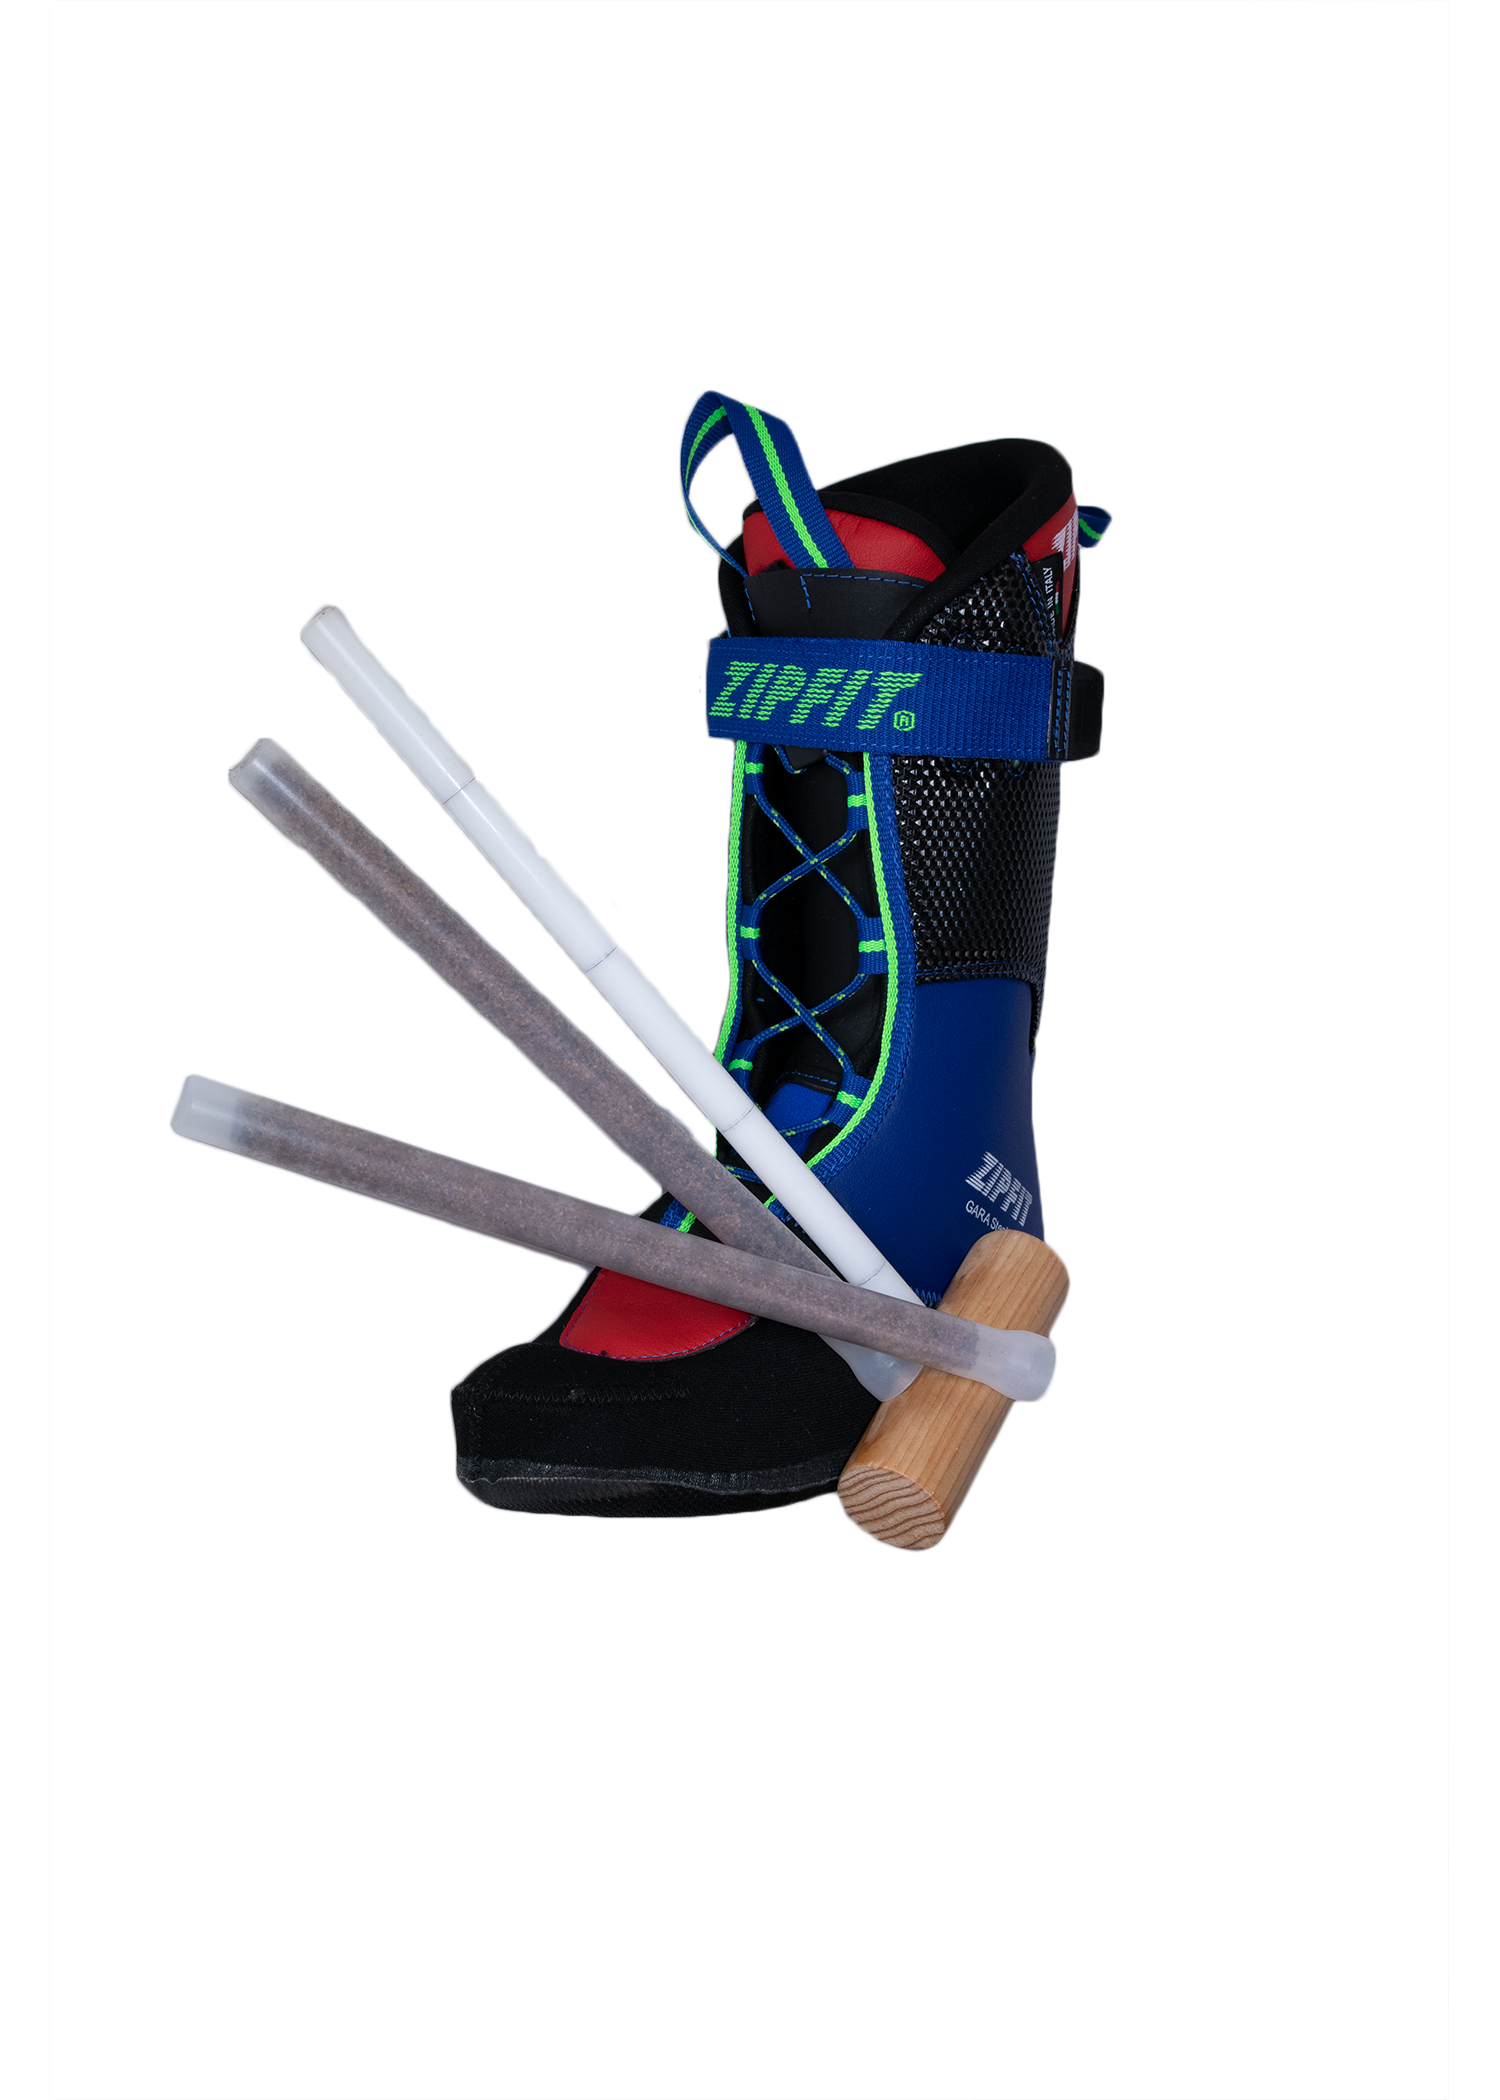
This is why ZipFits are designed so you can add more! All you will need are some tubes of cork, our plunger tool, and ideally a way to keep everything warm while you work.

Two ports (or sleeves) are located between the first and second lace loops counting from the toe up, one on each side. The third port is located on the top of the tongue behind the rigid black plastic. These ports, when not in use, are folded over and tucked away in between the interior and exterior layers of the liner.
To do any fitting work that requires adding or removing cork, locate the ports, which are made of a black synthetic fabric, and pull them out with your nails or gently with a tool such as pliers or tweezers. Once pulled out, pry the two layers apart sufficiently so they look like a sleeve that the tube of cork can slide into. Pro tip – warming the cork tube up for 15 seconds in the microwave will make application easier.
Now push the tube into the sack observing where the tip is at by looking at the inside of the liner. Point the end of the tube to where material is needed. When the tube is correctly positioned use the plunger to push the cork out of the tube and into the area of sack where it is wanted. Start small by adding only 1/4 or 1/2 of a tube. Remember that it is easier to add cork than to remove it. Once the cork is in place remove the tube and massage the cork with your fingers to even it out and push it where needed. After you have added cork to the liner, redo the initial fitting process should so that the newly added material takes the anatomical shape of the skiers foot.
Tongue – the tongue pouch can accommodate a significant amount of cork, but again start small and migrate the cork where you want it by kneading the neoprene on the tongue with your thumbs. In extreme cases, skiers with skinny shins have added upwards or 3 tubes of cork to each tongue to achieve the heel lock they desire.
The Ankle Pouch
With three separate chambers, this pouch can mold to just about any bag o' bones. The pouch shape is identical between all liner models, but specific to liner size and pre-filled with different amounts of cork by model.


The Tongue Pouch
The Tongue Pouch This runs from the length of the tongue from the instep window to ~2cm from the top. The port is accessed at the top of the tongue underneath the pull loop.